Add & Remove Blocks in Moodle

figo
Last Update 5 years ago
On This Page:
- How Blocks Work
- Add a Block
- Move a Block
- Remove a Block
- Hide/Show a Block from/to Students
How Blocks Work
- Most blocks update themselves automatically with information about the course For example, blocks such as Calendar and Upcoming events update themselves as date-based activities are added to the course.
- Which blocks are displayed depends on your location in Moodle.
For example, not all blocks displayed on your course homepage are displayed when viewing an assignment or forum page.
- Which blocks you see can also depend on your Role in the course.
For example, Teachers may see blocks (such as Quickmail) that Students don't see.
Step 1.
On your course page, click "Turn editing on"
Step 2.
If your Navigation tray is collapsed, select the Navigation tray toggleand the Navigation tray will expand.
Step 3.
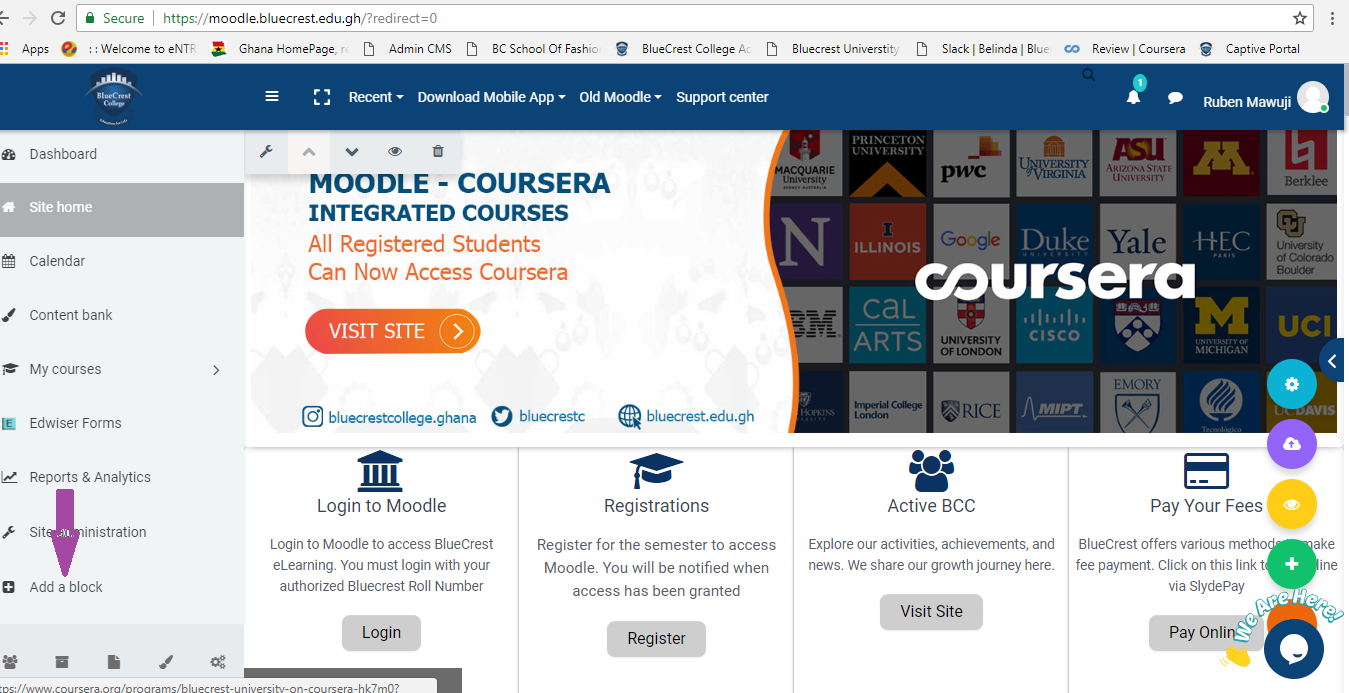
Scroll down to locate Add a block. Click Add a block and select a block to add from the new window.
Note: There can only be one instance of most blocks in a course. Depending on which blocks are already used in your course, the list will change to show only available blocks.
Step 4.
Once you have selected the type of block to add, the page will re-load and your new block will be added at the bottom of the right column.
Move a Block
You can move a block to rearrange the order in which your blocks are arranged in the sidebars.
Step 1.
On your course page, click Turn editing on (green pencil icon Turn editing on (green pencil icon, top right), top right).

Step 2.
Click the Move icon (Move icon) at the top right of the block. Drag the block to its desired location in the right column in your course. A shadow of the block will appear to show its resulting location if you drop it.

Step 1.

Find the block you wish to remove, and click the Actions menu (Edit settings icon Moodle). From the drop-down menu, select Delete (delete (trashcan) icon). A Confirmation page will open asking, "Are you sure you want to remove this block titled..."


Step 3.
On the Confirmation Page, click Yes. The page will refresh and the block will be removed from the course.
Hide/Show a Block from/to Students
To hide a block from student view without removing it from your course:
On your course page, click "Turn editing on"
Step 2.
On the block you wish to hide from students, click the Actions Eye icon Hide. The course page will refresh with the block minimized and greyed-out to indicate it is not visible to students.


To make a hidden block visible to students, repeat the above steps, and from the Actions Eye crossed-out icon Show